For those of you that enjoy woodworking, you might have heard of a saw bench, or otherwise referred to as a sawhorse. A saw bench, sometimes known as a sawhorse bench, consists of a beam with four legs that support the project you are sawing. For those who are new to using a sawhorse, you are probably confused about how to use a cutting bench.
As you’ll find, there are many uses for this handy piece of wood. From sawing to painting, every workshop will find it to be an asset. To help you get started, we’ve put together a comprehensive guide including everything you’ll need to know about how to use a sawhorse.
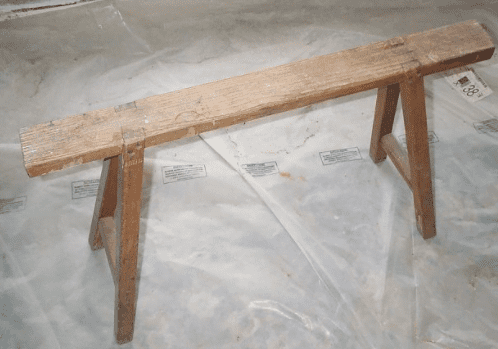
What is a Saw Bench?
A saw bench is made with a beam and four legs. You place a board or plank across it for easier sawing. There are other purposes behind this portable workstation as well. It has been used to form a scaffold or rack that supports logs.
You can have a sawhorse that folds if you need an easy storage option. In addition, some people prefer to use a wood cutting bench with a wide top to support the board better. While this makes the bench more useful, it does become more difficult in dealing with the storage of it.
Sawhorses are also commonly used as a base for a portable work table simply by placing a sheet of plywood on top of two saw benches. If they are strong enough, they can also stand in as a platform for power tools like a table saw. If the top is not secured to the sawhorses, this can be a dangerous thing to perform, so only proceed to do this with caution.
Making Your Own Saw Bench
Many carpenters will build their own sawhorses at the beginning of a job. They are easy to accomplish and cost virtually nothing.
Basic Saw Bench Instructions
Gather your supplies first. You’ll need:
- Two 12-foot 2x4s
- One 10-foot 2×4
- 16d nails or 3-inch screws
Gather together the required tools:
- A power sander (If you don’t already have one of these, check out our best orbital sander list to find the best options.
- Wood saw
- Angle grinder
- jigsaw or dowel jig
- Carpenters pencil
- Level
Then, follow these steps to make a simple saw bench of your own.
- Assemble the three boards to make up an I-beam.
- Attach the legs while using a framing square. This will square the legs to the beam.
- End by attaching the rails.
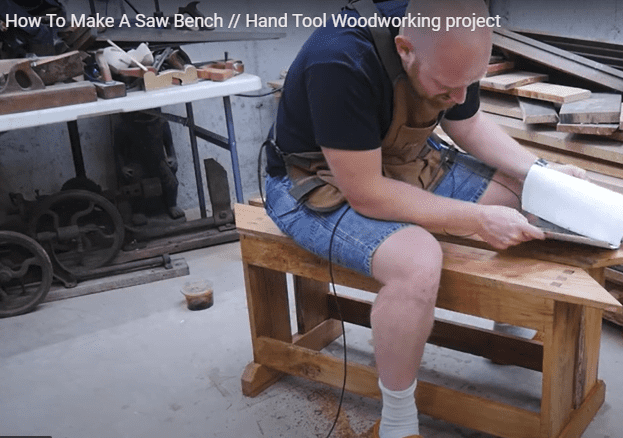
If you want to see someone make a durable saw bench, there is a great video tutorial to check out –
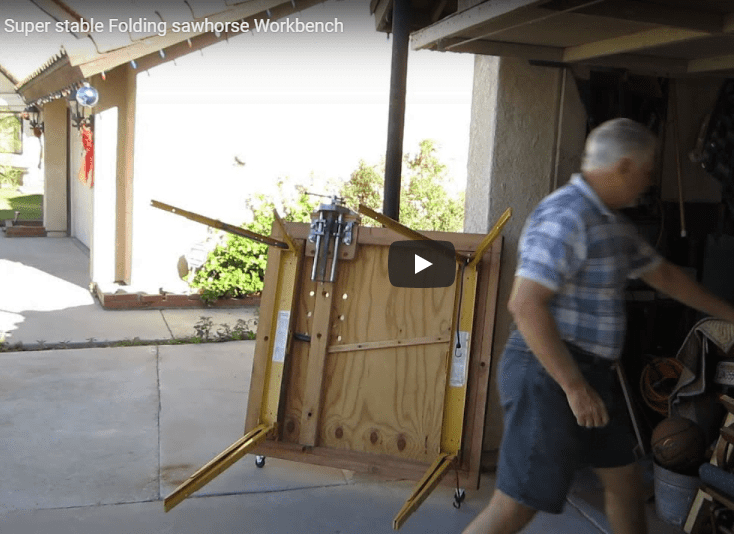
Folding Saw Bench with Shelf
If you are feeling that you could tackle something more advanced, consider a folding saw bench with a shelf. Here are the supplies you’ll need to make a pair:
- A 4×4-foot sheet of ¾-inch plywood
- One 8-foot 2×6
- One 8-foot 2×4
- Two 12-foot 2x4s
- Eight hinges
Then, follow these directions:
- Cut the top 2×6 to length
- Then, cut both sides of each leg at a 15-degree angle. Make sure that the angles are parallel
- Fasten the hinges to the ends of two legs
- Attach those legs by fastening your hinges to the top
- Attach the remaining two legs with 3-inch screws instead
- Cut the 2×4 to support one side of your shelf
- Mark the line 8-inches up from the bottom of the leg
- Line up the bottom of your 2×4 with this line
- Attach it with two 3-inch screws on both sides
- Cut your shelf to size
- Notch the two corners with a jigsaw/dowel jig
- Fasten the hinges to your shelf and use two 11-1/8-inch blocks of wood to hold the shelf in place temporarily as you fasten the hinged side to the legs.
- Cut a 23-3/4-inch by a 1-1/2-inch strip of plywood so it overlaps the 2×4 shelf brace.
- Attach it with wood glue and 1-1/4-inch screws. It is possible you might need to trim before fastening.
For a video demonstration on how to make $20, Sturdy Folding 2×4 Saw Horses, check out this great instructional video –

Common Cuts on a Saw Bench
While the possibilities of uses are endless, here are some of the most common cuts used on a saw bench.
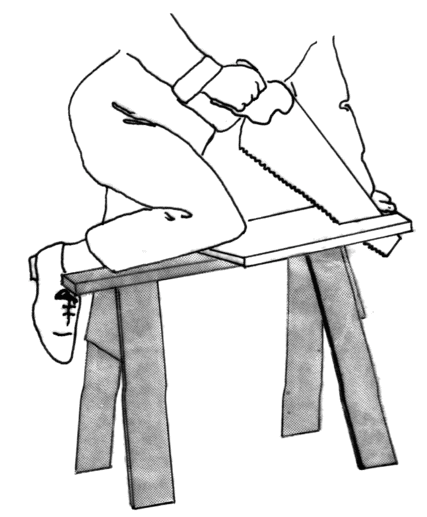
Short Crosscuts
Using one saw bench, lay the wood across the top and crosscut the end off. You can also do this by the ripping notch. Keep one leg on the floor with your work butted up to your shin. Use your other leg at a 90-degree bend on top of that work. This acts as a clamp. Make sure your arm swings free over the cutline.
- Start with the saw at a low angle.
- Work your way up after about four to five strokes – that will be your working angle
- As the work is being completed, reach around the saw with your free hand to support the board. This will help to avoid a last splinter ruining the finished work.
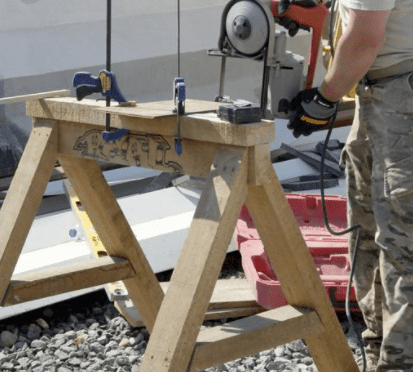
Long Crosscuts
Using two saw benches, lay the work across the tops. Do this with the boards across the width or length, whichever you prefer. Then, apply the same “clamping” method as above with your legs.
Short Rips and Notches
Using one saw bench, lay your work along the top. Hang the waste side of the rip off the top. This allows you to work from the side of the bench. You can use your leg as the clamp again but your shin isn’t going to keep the board in place this time.
- Begin the rip cut at a low angle and move up into a working angle (you can use an angle grinder for very difficult cuts if you have access to one).
- When notching the corners out, put the waste side over the ripping notch. This will support the entire piece, especially with thin material.
Long Rips
Don’t attempt this on your saw bench. Instead, it is wise for you to use the table saw. If you feel that you must do it manually, here’s what you want to do.
- Using two saw benches, lay the work across the skinny portion of the tops.
- Start the rip on the short end that is overhanging one of the saw benches.
- Just before you begin to saw the bench, move the work forward and continue.
In an effort to keep the board balanced, move it backward and work between the two benches. You can also rotate the saw bench so it is in line with the board as you finish the rip. Do this with the waste hanging off the side just like with a short rip.
Safety Tips When Using a Saw Bench
Just like anytime that you are sawing wood, there are some safety tips you’ll want to follow.
- Always wear a safety mask and goggles.
- Use tools that are the proper size.
- Check all the material for any nails or knots.
- Inspect your saw before use.
- Don’t test the sharpness of a saw with your hand.
- Begin sawing slowly.
- Secure your material before beginning to saw.
- Keep your hands away from the saw during work.
- Use full-length strokes that are directed away from your body.
- Always store your saw in a safe place where children cannot reach it.
- Continuously pay attention to the materials you are cutting.
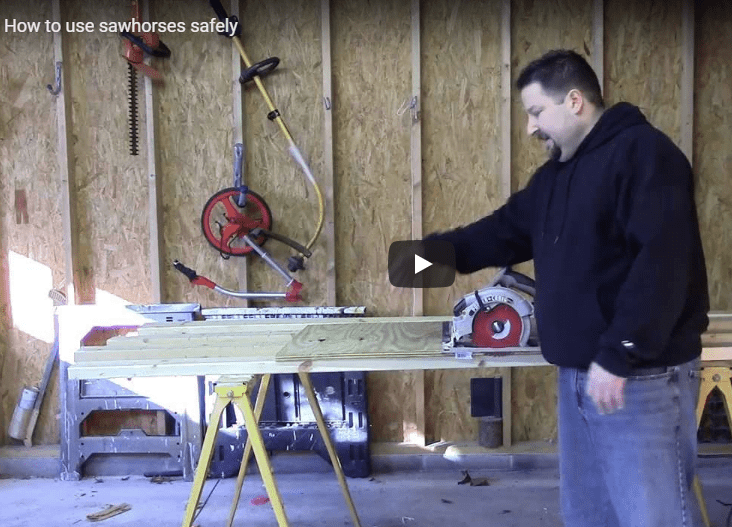
Before you get busy using your saw bench, you might want to review this video tutorial on the safety tips when using a saw bench –
Other Uses for a Saw Bench
While it is easy to think that a saw bench is just for cutting wood, the truth is that there are many other purposes. In fact, a quick search online will bring you to thousands of ideas of what you can do with your your sawhorse. With some creativity, sawhorses could be used for many common projects.
Build Your Own Workbench
You could consider setting up a workstation for the larger projects you are tackling. This works well when you are framing or trimming a larger job. Follow these steps to get started:
- Screw 2x4s into the top of the saw bench with a plywood platform.
- For best results, screw the 2x4s a few inches beyond the plywood so it is easier to move the whole station around.
- To decrease clutter, install a plywood shelf across the braces.
You can also watch this video to get an illustration of what one person did to create a sturdy workbench –
Make Scaffolding
Instead of attempting to work on stepladders at 10-feet or less off the ground, you can make your own scaffolding with the help of two saw benches as your support. While this will look rough, it is completely safe if done properly.
- Use plywood and 2x4s to create a scaffolding plank up to 8-feet in length.
- Add end blocks to keep the longer pieces from folding.
- If you need to create longer planks, use 2x6s instead.
Set your sawhorse so that all the legs are level and won’t sink into the ground. Obviously, you also want to test out the stability of the creation as well.
Tips on How to use a Saw Horse
Once you’ve become accustomed to using a saw bench, you’ll want to take things up a notch. Here are some tips that will help you to get more use from your saw bench.
Create a Larger Top
Instead of using 2x4s on the top of your sawhorse, why not screw a 2×6 on the end instead? Then, you have more surfaces available for clamping. In addition, once you drill a hole in the end, you can hang the horse on a screw for easy storage.
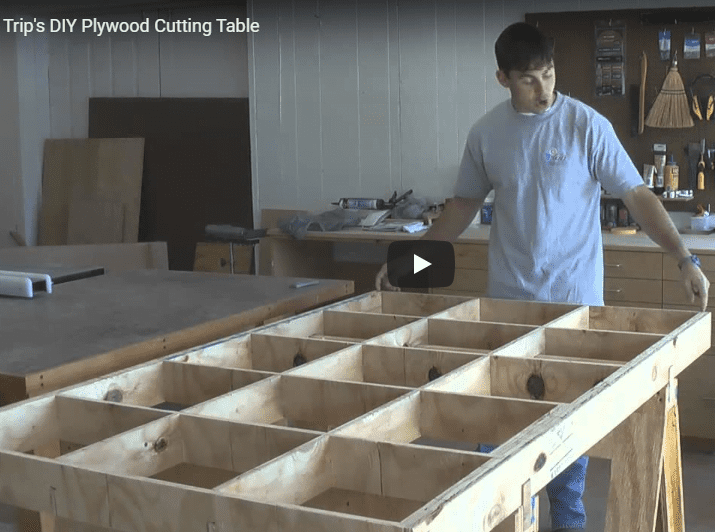
Create a Cutting Grid
Many people will lay some 2x4s across a set of horses, but there is a better way. When cutting flimsy or small items, it will work better to have a cutting grid.
Use five knot-free 1x4s of pine or oak, each 8-feet long. Then, clamp the crosspieces together and cut the notches. Do the same thing with the stretchers. Don’t attempt to fasten your grid portions with screws or glue. It is better to simply slip them together. This way you can also disassemble them for easy storage.
For an illustration of a cutting grid, watch this video to see what one person did –
Create a Drying Rack
You will find that painting and staining long objects is a simple task when you use your saw bench. Once you are done, where do you put it to dry? You can take some scrap ¾-inch plywood and create simple racks for the saw bench. Just custom-cut the slots based on what your needs are and then screw them into the sides of your horse.
Frequently Asked Questions about the Use of a Saw Bench
Here are some questions we commonly get when it comes to using a saw bench.
Can I customize the height of my saw bench to fit my height?
Absolutely! Most people opt to make a saw bench that is 20-inches high. From there, you can easily cut it down if it seems to be too high for kneeling on the work. You don’t want to go below 18-inches if you can or you might hit the floor with the toe of your handsaw. Even if you are referring to saw bench plans when building your bench, you can deviate from the documented height in order to fit the bench into a certain area of your workshop. if you do this, just make sure that you modify all of the measurements beforehand, so that everything still fits together as planned.
Can I use any kind of wood when building a saw bench?
If you have a very specific requirement then you may decide to build a saw bench from scratch. In this case, you should consider the type of wood that you use when building the bench. Any construction-grade lumber that is clear and heavy will work. Try to use something like hemlock, fir, or popular.
How do I set up a circular saw bench?
If you purchase a circular saw that comes with attachments, you can attach this to your bench in order to make a custom circular saw bench. Alternatively, you can purchase an “off-the-shelf” circular saw bench that has everything configured so that it is ready to use. This is sometimes the preferred option as you know that everything has been configured correctly, you know it is safe to use and you know that you will get an accurate cut when using a professionally built saw bench over one that you have custom-made yourself.
Conclusion
Saw benches aren’t just ideal for sawing; there are so many other uses you’ll find once you have a pair. Use them to assemble products, paint or hold stock while working on the workbench. Even if you don’t spend a lot of time hand sawing lumber, you’ll be sure to find many uses for this handy piece.
For the cost and the effort it takes to create them, it is a “no-brainer” that every workshop should be equipped with at least one saw bench, but preferably two.
Put some together and see what you can create with the new tools you have.

Makita
Makita BO5041 5" Random Orbit Sander, Variable Speed

DEWALT
DEWALT Random Orbit Sander, Variable Speed, 5-Inch (DWE6423)

LDHTHOPI